


Step 2: Adding Static Correction
The Goal
In the second step of the training process the goal is to teach the dog that there is a consequence for breaking the boundary rules you taught her in Step 1. The work that you did in Step 1 taught the dog what to do when hears the warning tone – turn and retreat. Now, your pet is ready to apply that knowledge to turn off the correction.
The Setup
Activate The Stimulation
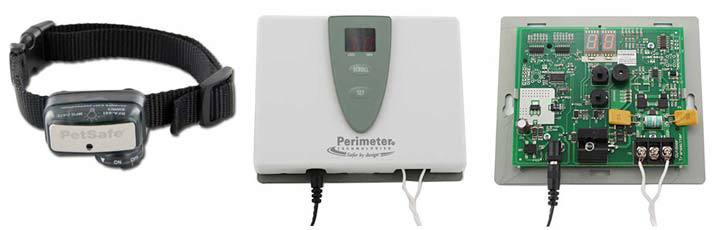
In Step 1 of the training process we deactivated the correction on the collar to work with the dog in tone-only training mode. Now that the dog has learned to associate the warning tone with the visual markers of the training flags and to turn and retreat, we’re going to activate the correction. Each dog fence system is different so depending on the model you are using, you will either need to adjust the correction directly on the receiver collar itself or adjust the correction on the transmitter.
Set The Correction Level
To begin training, always start with correction level 1. The goal with static correction is to find just the right level to get your pet’s attention and refocus them. The goal is not to overpower your dog or cause pain. This is a very important distinction. Beginning with level 1, you’ll watch your pet for signs that he is responding to the static correction. If he responds by lifting his ears, turning his head and looking for the source, or moving away from the area, you’ve got the right correction level. If your pet vocalizes or shows any signs of stress, fear, or discomfort, the correction level setting is too high. By starting with the lowest level we can increase the correction until the dog responds without risking a negative reaction. Before turning up the correction level, make sure that the dog fence collar is snug on the dogs neck, regardless of correction level a loose collar will not allow your dog to feel anything and produce inconsistent results.
Playtime
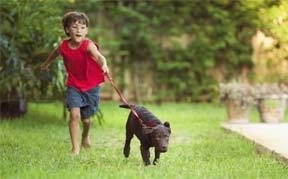
Just like in Step 1, we’ll start the training session with some playtime inside the containment area in the ‘safe-zone’. We’ll do this at the beginning and end of each training session to keep the training positive and keep the dog eager to participate. Remember to use high protein treats as suggested in step one.
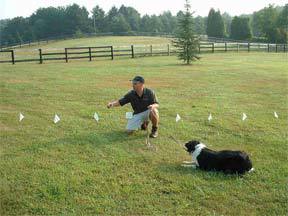
The Training
Just like in Step 1, we’ll start with the dog on a long leash wandering around the containment area. If the dog doesn’t head to the boundary zone right away, we’ll slowly guide him that way remembering to never lure or force the dog into the correction zone. Wait for your pet to wander into the correction zone where she’ll hear the warning beep and then receive the static shock. Once you hear the tone and see the dog receive the correction, give the ‘no’ command and then pull them quickly back into the safe zone where you can praise and give your dog a treat.
If your pet does not cross the boundary, give plenty of positive reinforcement and a reward. Watch your pet for signs that he is beginning to understand the new rules. You may see your dog walk toward the boundary but stop or veer off when he catches sight of the flags. This is exactly the type of behavior you want to reward.
It’s important to remain in a leadership role throughout the training process. If your dog receives a correction, simply ignore it and continue on with the training. The static shock your dog will feel (when the correction level setting is correct) is akin to the shock you’ve received when climbing out of a car, or running your feet along a carpet and then touching a doorknob. It’s nothing to dwell on and comforting or babying your dog after a correction can compromise the training process.
Although the shock is no big deal (go ahead and try it yourself), you don’t want your dog to receive too many shocks in a single training session because you want them to have a positive association with the containment area and training. Limit the training to only a few corrections per session. Once your dog has received a couple of corrections, simply set the system (or collar) back to tone-only mode and continue the session without the static shock correction. Over-correction at the beginning can create a negative association that will make training more difficult and stressful.
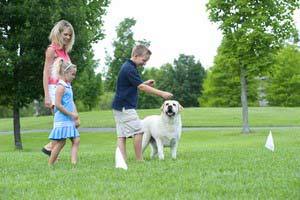
Tip from the Pro: It is extremely beneficial to have two people or various members of the family participating in the training. One member can stand at the flags and shake them vigorously when the dog hears the warning tone. This helps to reinforce that the flags are bad and solidify the connection between the tone and the perimeter. In addition, having all the members of your family involved in the training will ensure everyone understands how the system works and how to help the dog succeed in her training.
You’ll repeat this second step of training for the next week, three times a day. Your dog is ready to move to Step 3 : Distractions when she consistently shows an understanding of the boundary and an unwillingness to cross. Every dog is different. If your dog shows this awareness in 3 or 4 days, go ahead and move on. If, on the other hand, your dog is still trying to cross the boundary after a week of training with correction, refer to our FAQ section to rule out a problem and then continue training on this step until your dog does demonstrate an understanding.